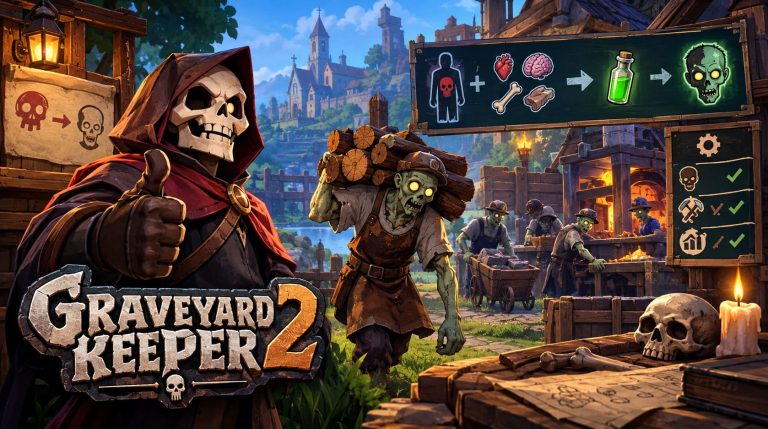
Graveyard Keeper 2 Zombie Efficiency Guide: Limits, Upgrades, and Town Restoration Layouts
I’ve sunk way more hours into corpse management than any therapist would consider healthy, and Graveyard Keeper 2 is exactly the kind of morbidly satisfying sequel that made me cancel plans for a whole weekend. Lazy Bear Games didn’t just polish up the original’s dark-comedy cemetery sim — they blew the scope wide open. You’re no longer some overworked graveyard custodian; you’re the Grand Inquisitor, and your job is rebuilding a Town that’s been chewed apart by a full zombie apocalypse.
And here’s the thing nobody warns you about early: your entire economy lives or dies on how good your zombies are at their jobs. Skip the autopsy optimization grind and you’ll spend fifty hours wondering why your iron never smelts fast enough. So let’s talk about the mechanic that actually matters — zombie efficiency — because once it clicks, the whole game opens up.
Graveyard Keeper 2 Zombie Guide: How to Get and Automate Undead Workers
The Skull System Is the Real Endgame Stat
Every corpse you drag onto the autopsy table is basically a stat sheet waiting to be optimized. Carve out the right organs, and you rack up White Skulls. Leave in the wrong ones, or work on a body that’s too far gone, and you’re stuck eating Red Skulls and Corruption penalties instead.
Here’s the math that governs everything:
| Skull Type | Effect | Practical Impact |
|---|---|---|
| White Skull | +5% efficiency (permanent) | Stacks with every additional one you earn |
| Red Skull / Corruption | Efficiency penalty | Slows work, risks attracting hostile entities |
| Fresh, unoptimized corpse | ~10–25% baseline | Fine for early filler tasks, nothing more |
| Perfectly engineered corpse | ~40–50% efficiency | Roughly 5x the output of a bottom-tier zombie |
That last row is the one that changes how you play. A single 40%-efficiency zombie doesn’t just edge out two mediocre ones — it flat-out replaces them, and that matters enormously once you understand how station slots work (more on that in a second).

Building Better Zombies: The Autopsy Order Actually Matters
I learned this the hard way after botching a dozen corpses trying to rush upgrades. The sequence you follow on the table isn’t cosmetic — mess it up and you lock in permanent cellular damage.
- Start with soft tissue and blood removal. This is your foundation. It’s the step that clears out easy Red Skulls and unlocks room for White Skulls later. Skip this and every subsequent upgrade underperforms.
- Move into organ transplants once you’ve unlocked embalming fluid injectors. These late-game alchemical tools boost how much white tissue a body can actually hold, which is what lets you push past that early efficiency ceiling.
- Watch your Corruption meter like a hawk. Because the game’s setting is a literal zombie outbreak, a huge chunk of the corpses you’ll be harvesting arrive pre-corrupted. Pack in too many dark organs and you’re not just losing efficiency — you’re inviting nastier things down into your tunnels.
The Grand Inquisitor Perks Worth Rushing
A few unlockable perks quietly reshape your entire labor pipeline, and I’d argue these are worth prioritizing over flashier narrative rewards:
- Undead Logistics Supervisor — a flat +25% travel speed for every hauling zombie. Sounds boring. Is not boring. This alone can unclog half your supply chain.
- Flawless Preservation — stops harvested bodies from degrading in transit, which matters a lot once you’re running expeditions far from the morgue.
- Overcharged Animus — a burst ability that gives every worker in a sector +15% efficiency for a full in-game day. Save it for crunch moments, not routine grinding.
Why You Can’t Just Spam Zombies at a Problem
This is the part that trips up players coming from the first game, where automation was a late-game toy rather than a core system. In Graveyard Keeper 2, resource nodes — the mountain iron mine, the forest logging camp, whatever — have hard slot caps. You can’t out-brute-force a bottleneck by dumping bodies at it.
That’s exactly why skull optimization stops being optional busywork and becomes the entire strategic layer: with limited slots, quality beats quantity every single time. Two 20%-efficiency zombies hogging your only two mining slots is objectively worse than one well-built 40% specimen and an empty slot you can use elsewhere.
Storage caps bite just as hard. Automated stations don’t pause gracefully when their output chest fills — they just stop cold. If you’re off running Town quests for half a day and forgot to build overflow capacity, congratulations, your economy just took an unplanned vacation.
Fixing Your Hauling Network (Because You Will Mess This Up First)
Hauling zombies play by different rules — infrastructure matters more than raw efficiency stats here.
- Pave reinforced walkways between remote resource nodes and your central warehouse. Porters moving along these get a real movement speed bump, and it compounds across every single trip.
- Keep production and storage glued together. Woodcutters should dump straight into a yard chest that a dedicated porter immediately clears down to the carpentry benches. The second you introduce extra walking distance, you introduce lag in your whole chain.

Rebuilding the Town Is the Real Payoff
Once your home base is humming, the game hands you the actual endgame loop: sending optimized zombie squads out to reclaim the ruined city itself. High-efficiency crews assigned to automated construction sites are what let you patch up collapsed buildings, clear rubble-choked archways, and get shops trading again for the survivors still hanging around.
It’s a genuinely clever dual-loop design — micromanage your corpse economy at home, then watch that investment pay off on the macro scale as the Town itself comes back to life. Get your skull composition right, manage Corruption ruthlessly, plan your storage before you need it, and this ‘zombie problem’ turns into the most oddly satisfying supply chain simulator I’ve played all year.